Tell Students What You Value in Your Classroom
Businesses are really working on defining their core values. It’s more important that teachers define theirs. We always go over expectations at the beginning of the school year. Explaining your values helps students understand the purpose of those expectations. It’s beneficial for students to know what you value as their math teacher so that they will then value some of those same things as well. At the beginning of the school year, I share some of my values in my classroom with my students. I hang posters that display these values and I refer back to the them throughout the year.
Growth Over Grades
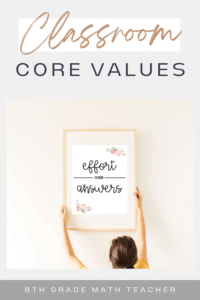
Here’s what I mean. I let students know up-front that I understand that their grade may be important to them (or their parents). However, I believe that know matter what the grade, if they have shown growth – in a certain topic, throughout the whole year, etc. – they should be proud. This improvement could be in a score or even just their confidence in math. I value their learning over getting an A or B.
I often will do a little “this-or-that?” type of game in the first days of school where I ask students if they would rather get an A and learn nothing or get a D and learn a lot. The mindset of most students is the same. They want an A over anything else, so I explain that my hope is that they grow to value the learning rather than just the number entered into the gradebook.
I usually have students recall virtual learning during the pandemic. I lead a discussion about how lenient teachers were with grades and how much learning really happened during those days at home. Some brave students even share how little they actually did or learned while distance learning. Many share how easy the work was or how easily they cheated, and of course they still got that good grade! The point of the discussion is to share with them that I see a much greater value in someone truly growing in their abilities than in any number that is recorded.

Effort Over Answers
Another thing that came along was the attitude that work only needs to be completed – not done well. Students (and maybe teachers too) viewed assignments as something to check off as proof that they were working. As students came back in person, I found most quickly and mindlessly turning in “work” with no thought or effort put into it. And they saw nothing wrong with this. Teaching students to value effort (whether they get a solution or not) is important in learning. When correct answers are valued less, students work harder during the learning process.
This value also really tells how I feel about cheating. Especially when students work in groups, it’s easy for someone to write an answer their partner has given. At that time, students will often feel like they are “off the hook” for doing any further work. I remind students that they aren’t truly learning unless they are doing the thinking and putting in the effort for themselves. It’s important students know having an answer on their paper is less important to me than the thinking that occurred to get that answer.
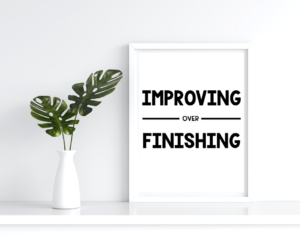
Improving Over Finishing
Along with quick and effortless answers, I’ve found students won’t go back and revise their answers once they’ve written something down. I have to remind students that I value improvement more than getting done quickly. This is a tough one when a student gets an answer correct. Referencing my poster that says “improving over finishing helps. I am not impressed with someone who gets the answer in 1 minute. I am more impressed with a student who revises their work, explains their thinking, or demonstrates their learning in a different way.
Students have lots of opportunities to collaborate in groups and share strategies and thinking. Once they have, I tell students, “now make your answer better.” I explain it doesn’t mean their answer isn’t good or correct, but it can always be improved. At the beginning of the year, I have to encourage them by asking some of these questions. Did you hear a vocabulary word used that you should include in your response? Was there an alternative way to explain or work out the problem? Can you prove that your work is correct? Eventually, they know that I will always ask them to take some time and improve their work in some way.
These are just a few of the values I share with my students and hope to instill in them. What others would you add to this list? What values do you want your students have?
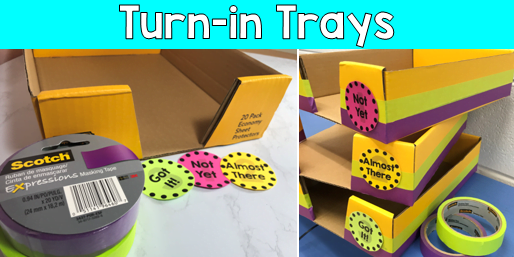
If you are interested in the posters of values mentioned in this post, please check them out here.


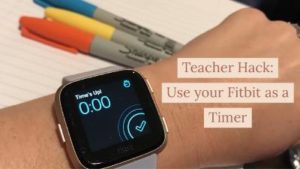 Use timers. Time can definitely get away from you in the classroom if you let it. You can also use your Fitbit to set timers throughout class. I do a lot of group work and rotations in my classroom, so using timers is helpful to keep me and my students from wasting too much time. Although sometimes a visual timer is good to keep students aware of how much time they have, a timer they can’t see if often better for smaller chunks of time. I’ve found that when students are rotating around in stations, I can’t get a feel for how long they need unless I use a timer. If I don’t time them, I’m inconsistent with how long I give them and sometimes they end up not getting finished while other times they have been finished, waiting, for several minutes. Just like with the silent timers, you’re the only one who knows when time is up, so if you see students need more time, you can always let them keep working and adjust the next timer accordingly. You can time students during bell-ringers (5 minutes), think time (2 minutes), turn and talk time (2 minutes), group work (10 minutes), transitions (1 minute), clean up time (1 minute), independent work (15 minutes), and more. The more aware of time you are, the less distractions can steal your precious class time from you.